DIY hub for Home Assistant system.
DIY hub for Home Assistant system.
Although I established Google home voice control with Home assistant, I realized the need of intuitive touch control system.
The Nest Hub was Ideal, but my wallet is so empty that I should DIY.
This is the story about making HA Hub with an old smartphone and 3D printing.
Required materials
- An old smart phone in your drawer
- An old PLA filament(only for me)
- A little bit of 3D modling ability
- Already established HA server
- A phone charger with broken connector
STEP1. Modification of Smartphone
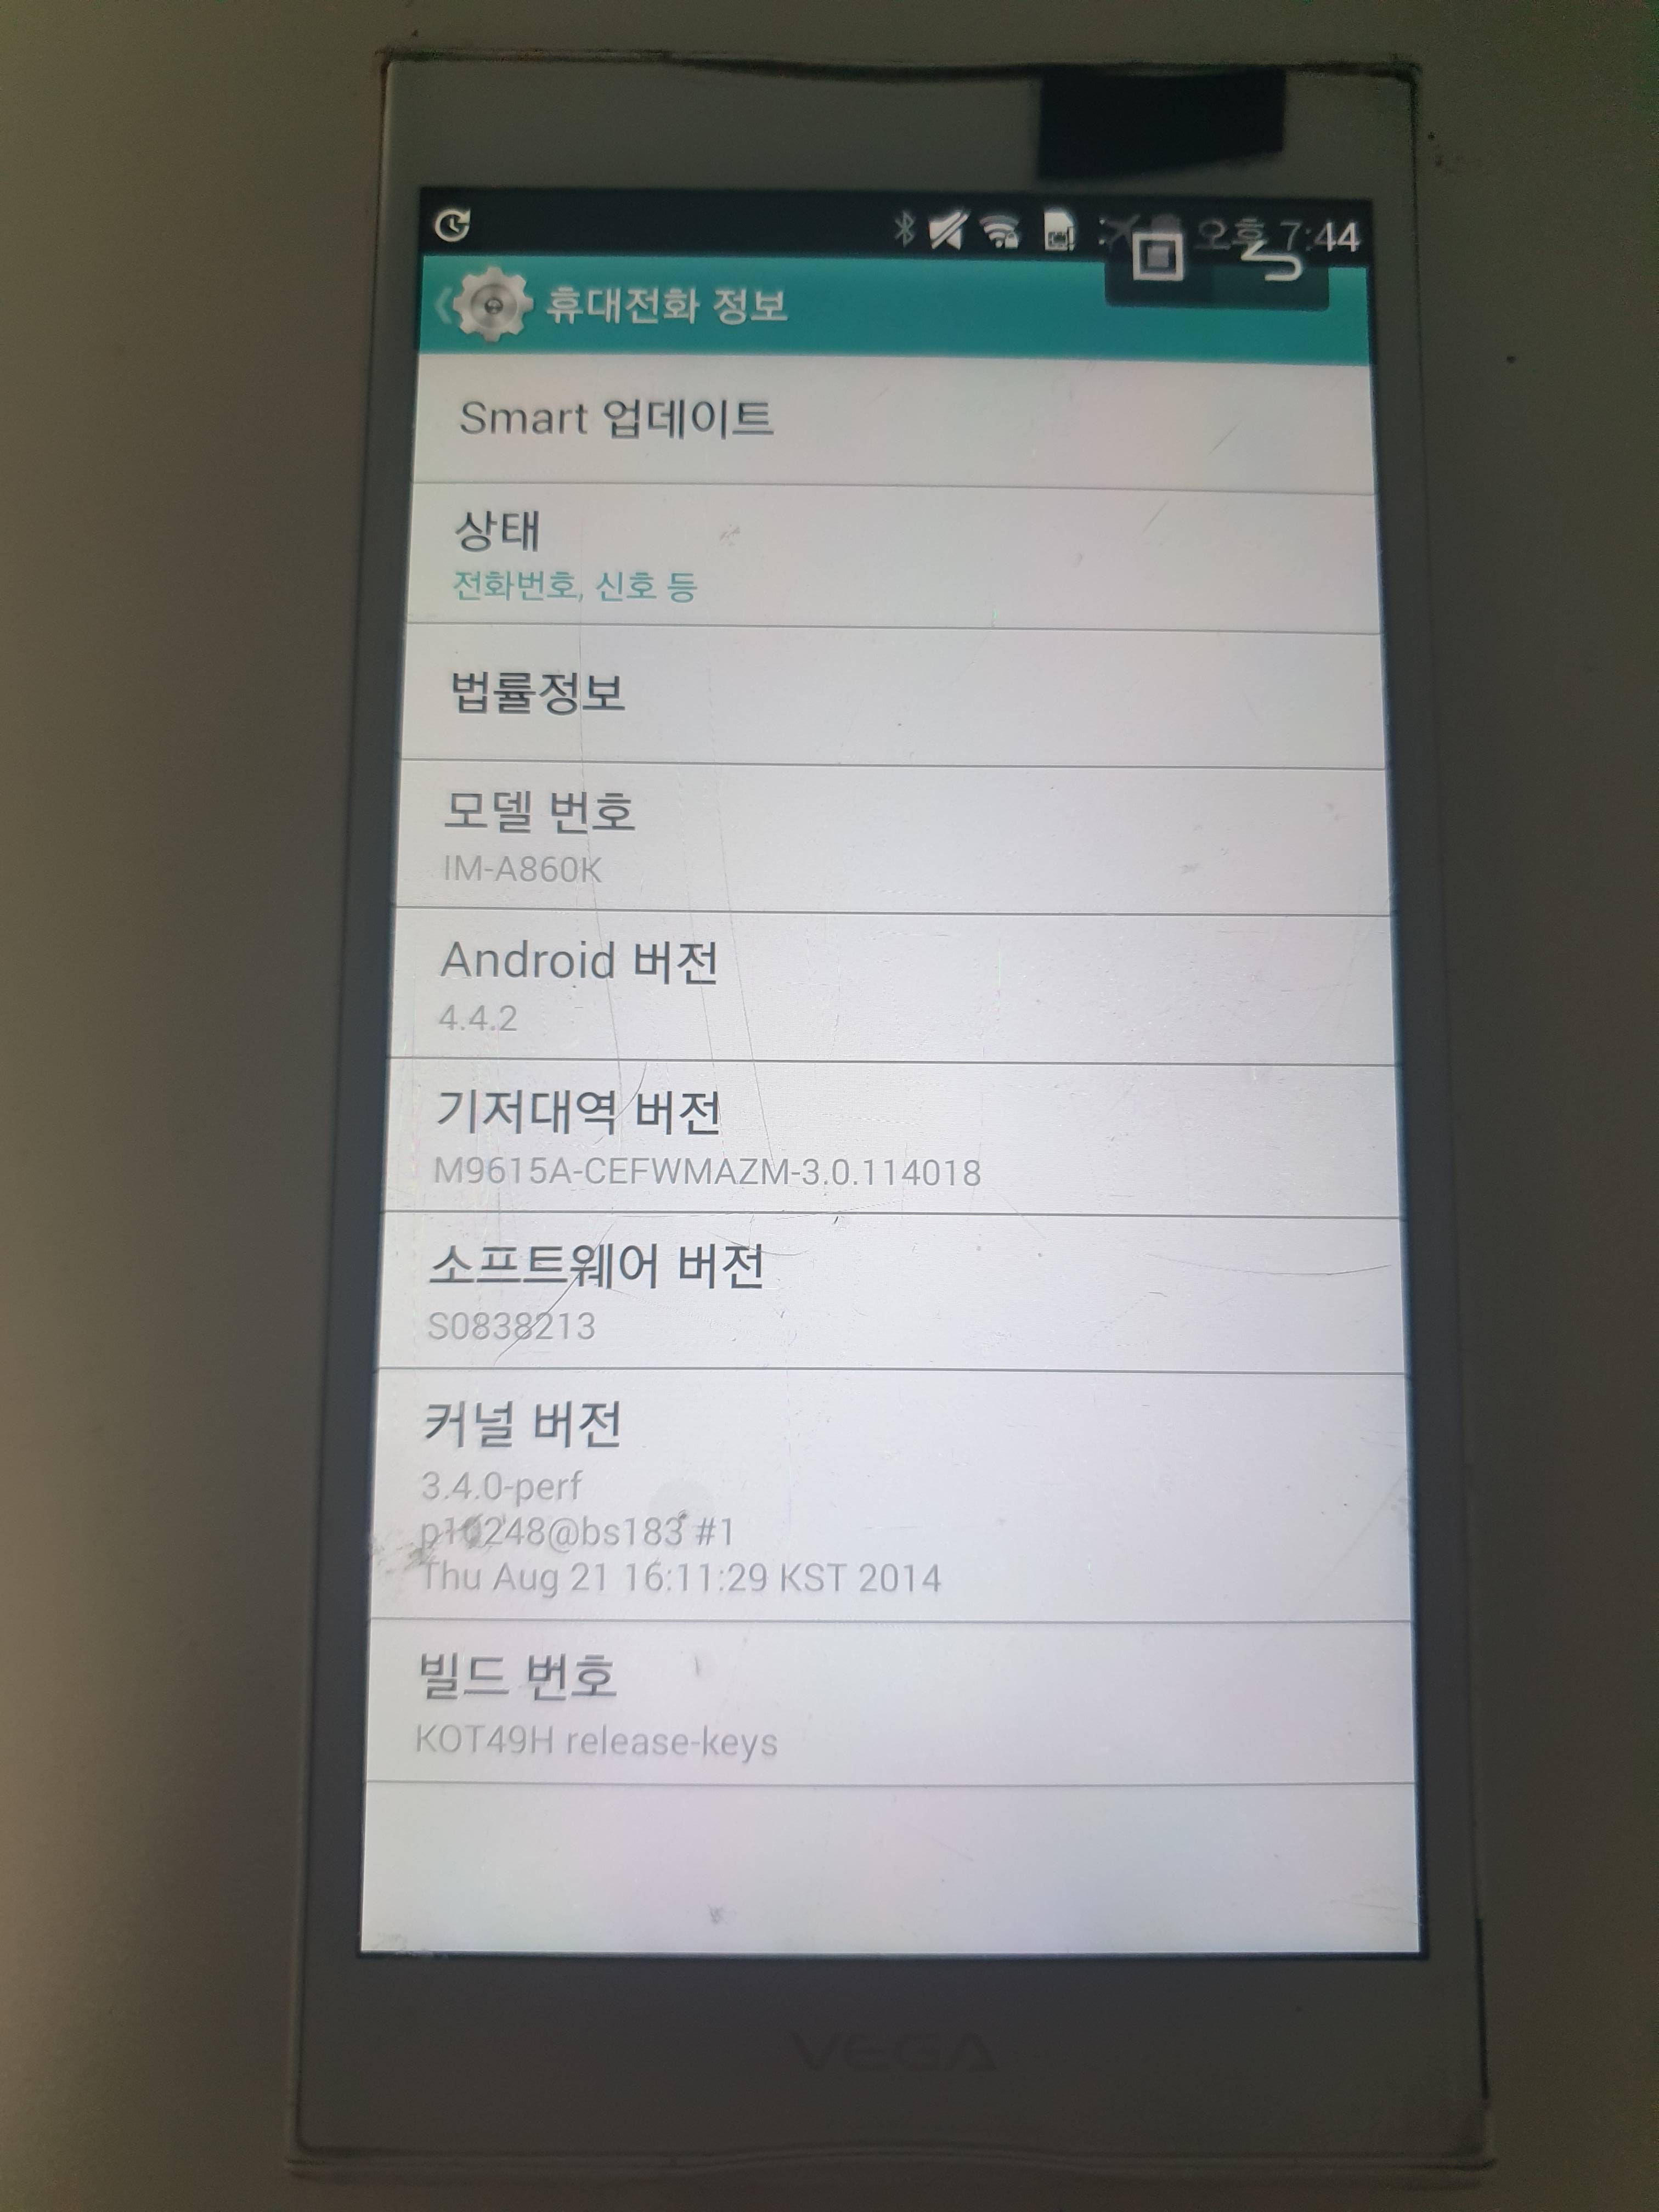
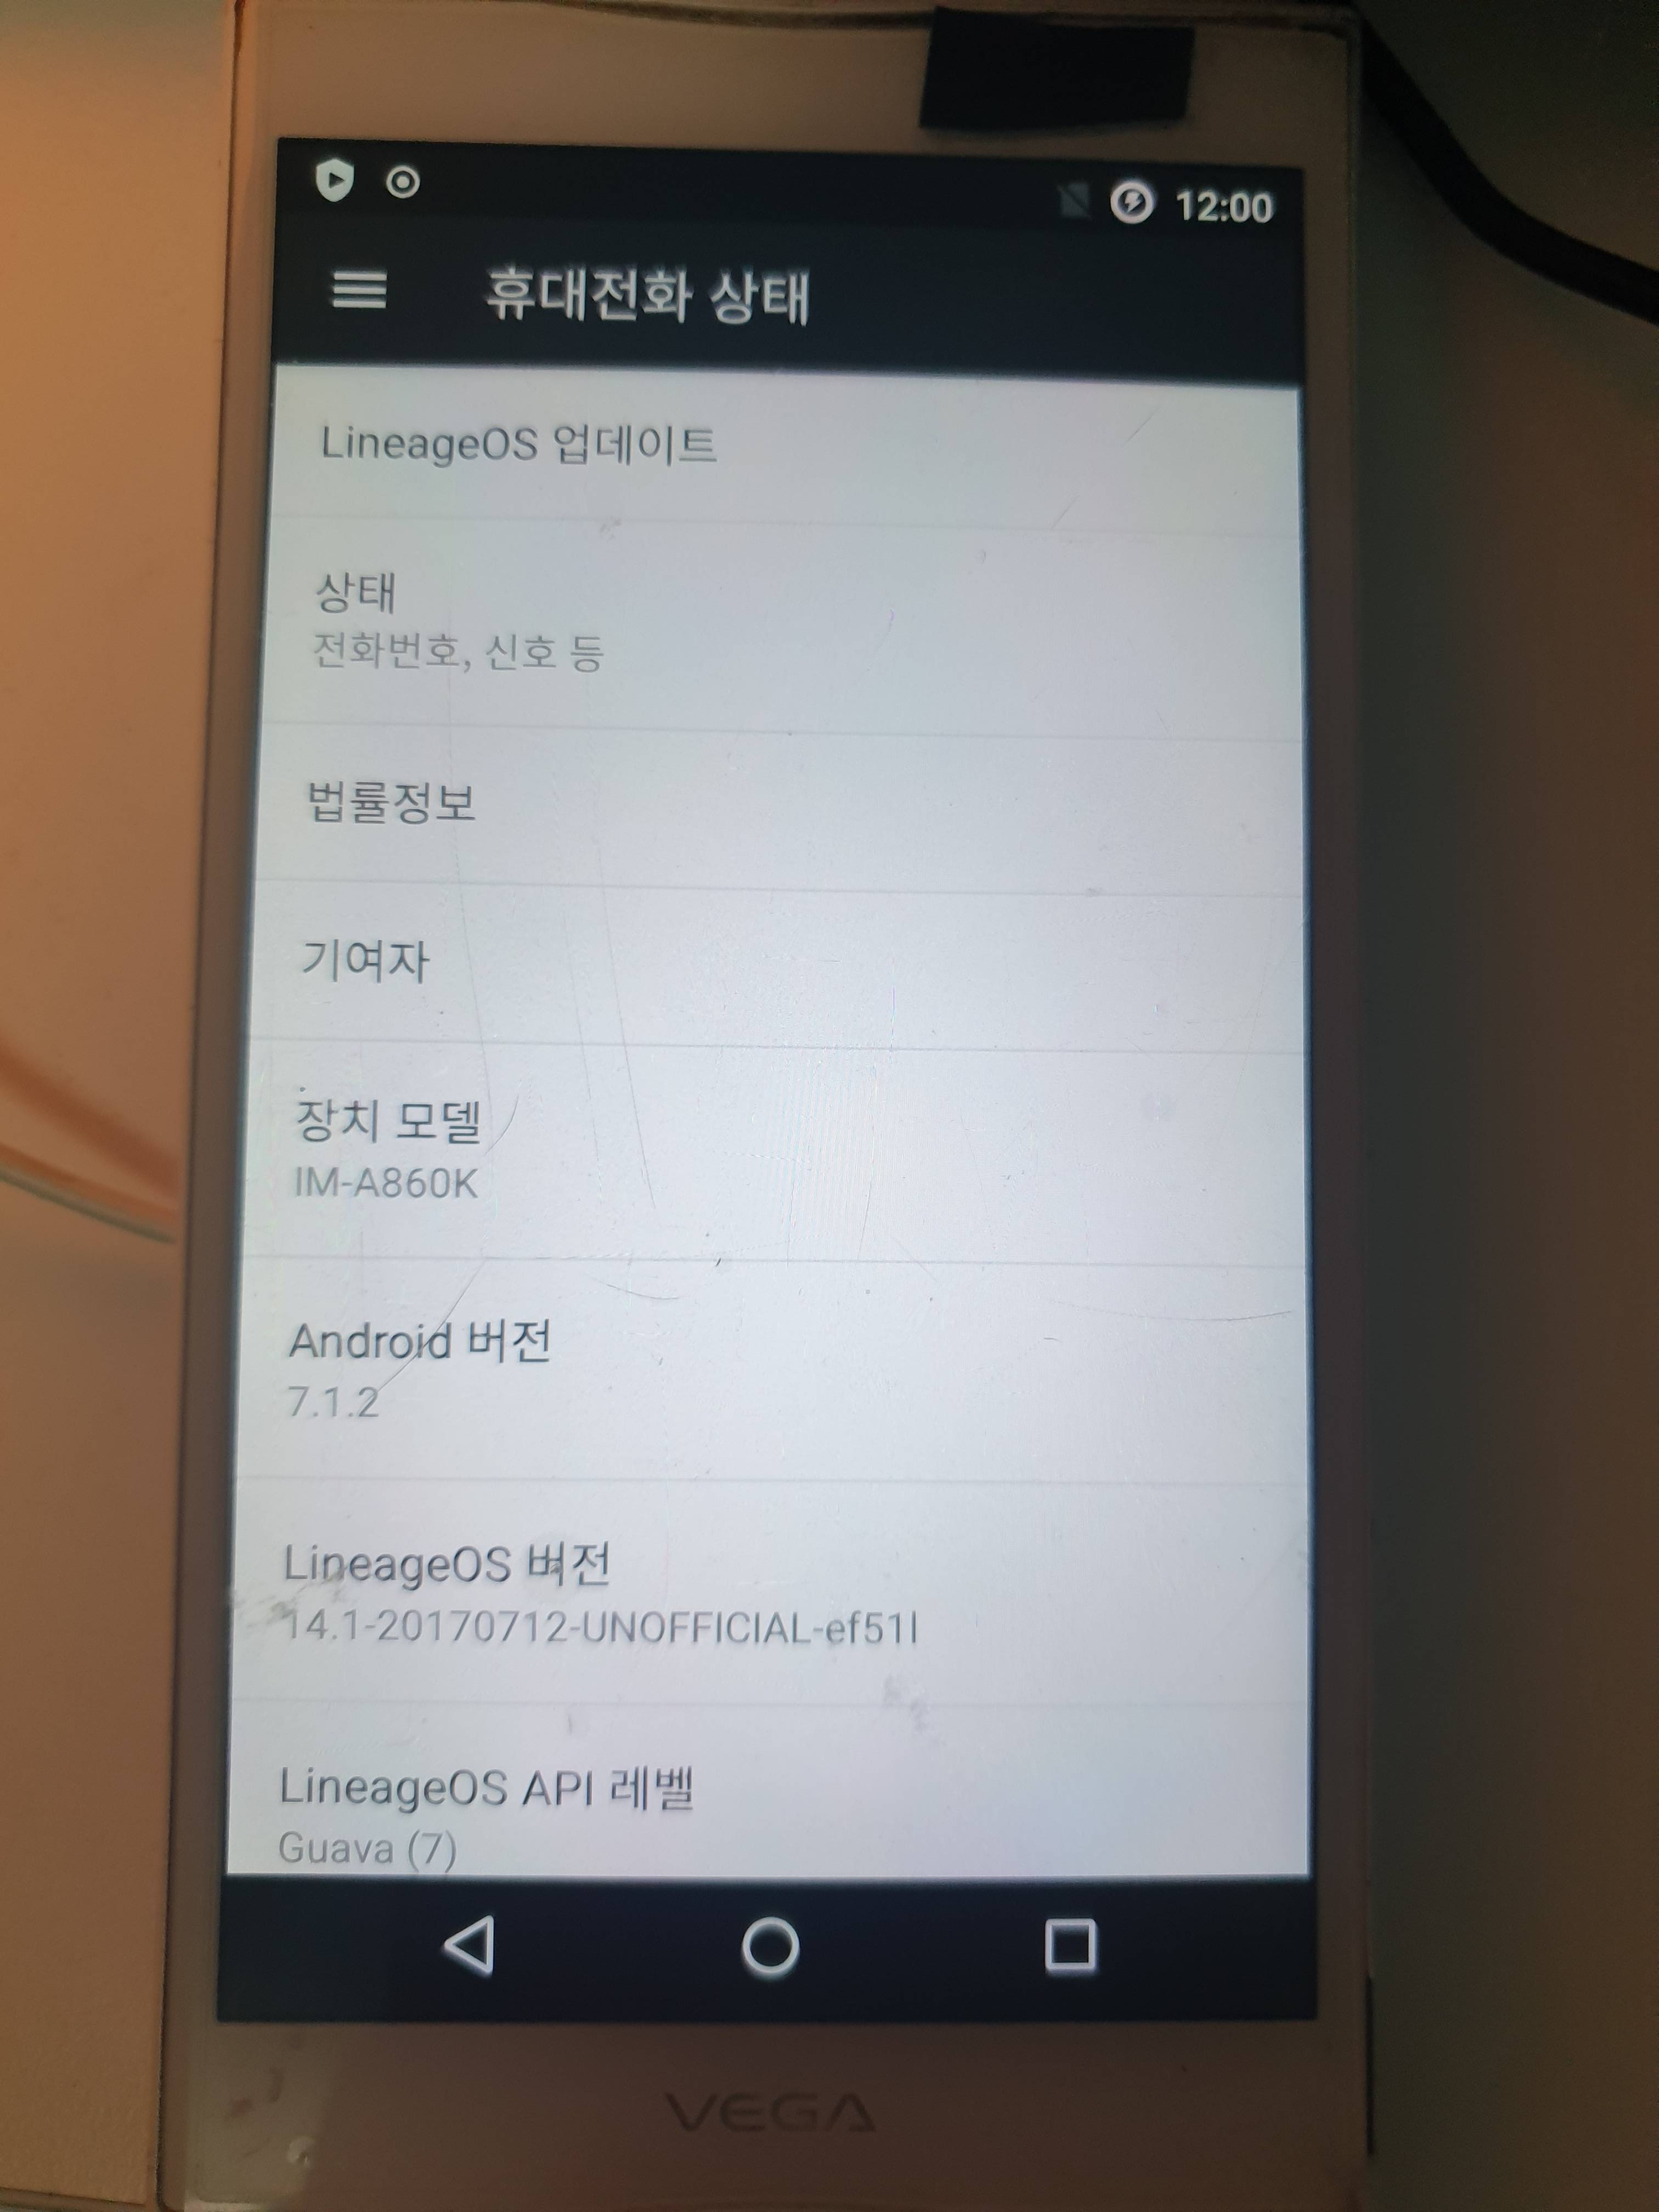
- Install newer OS in your phone(Optional)
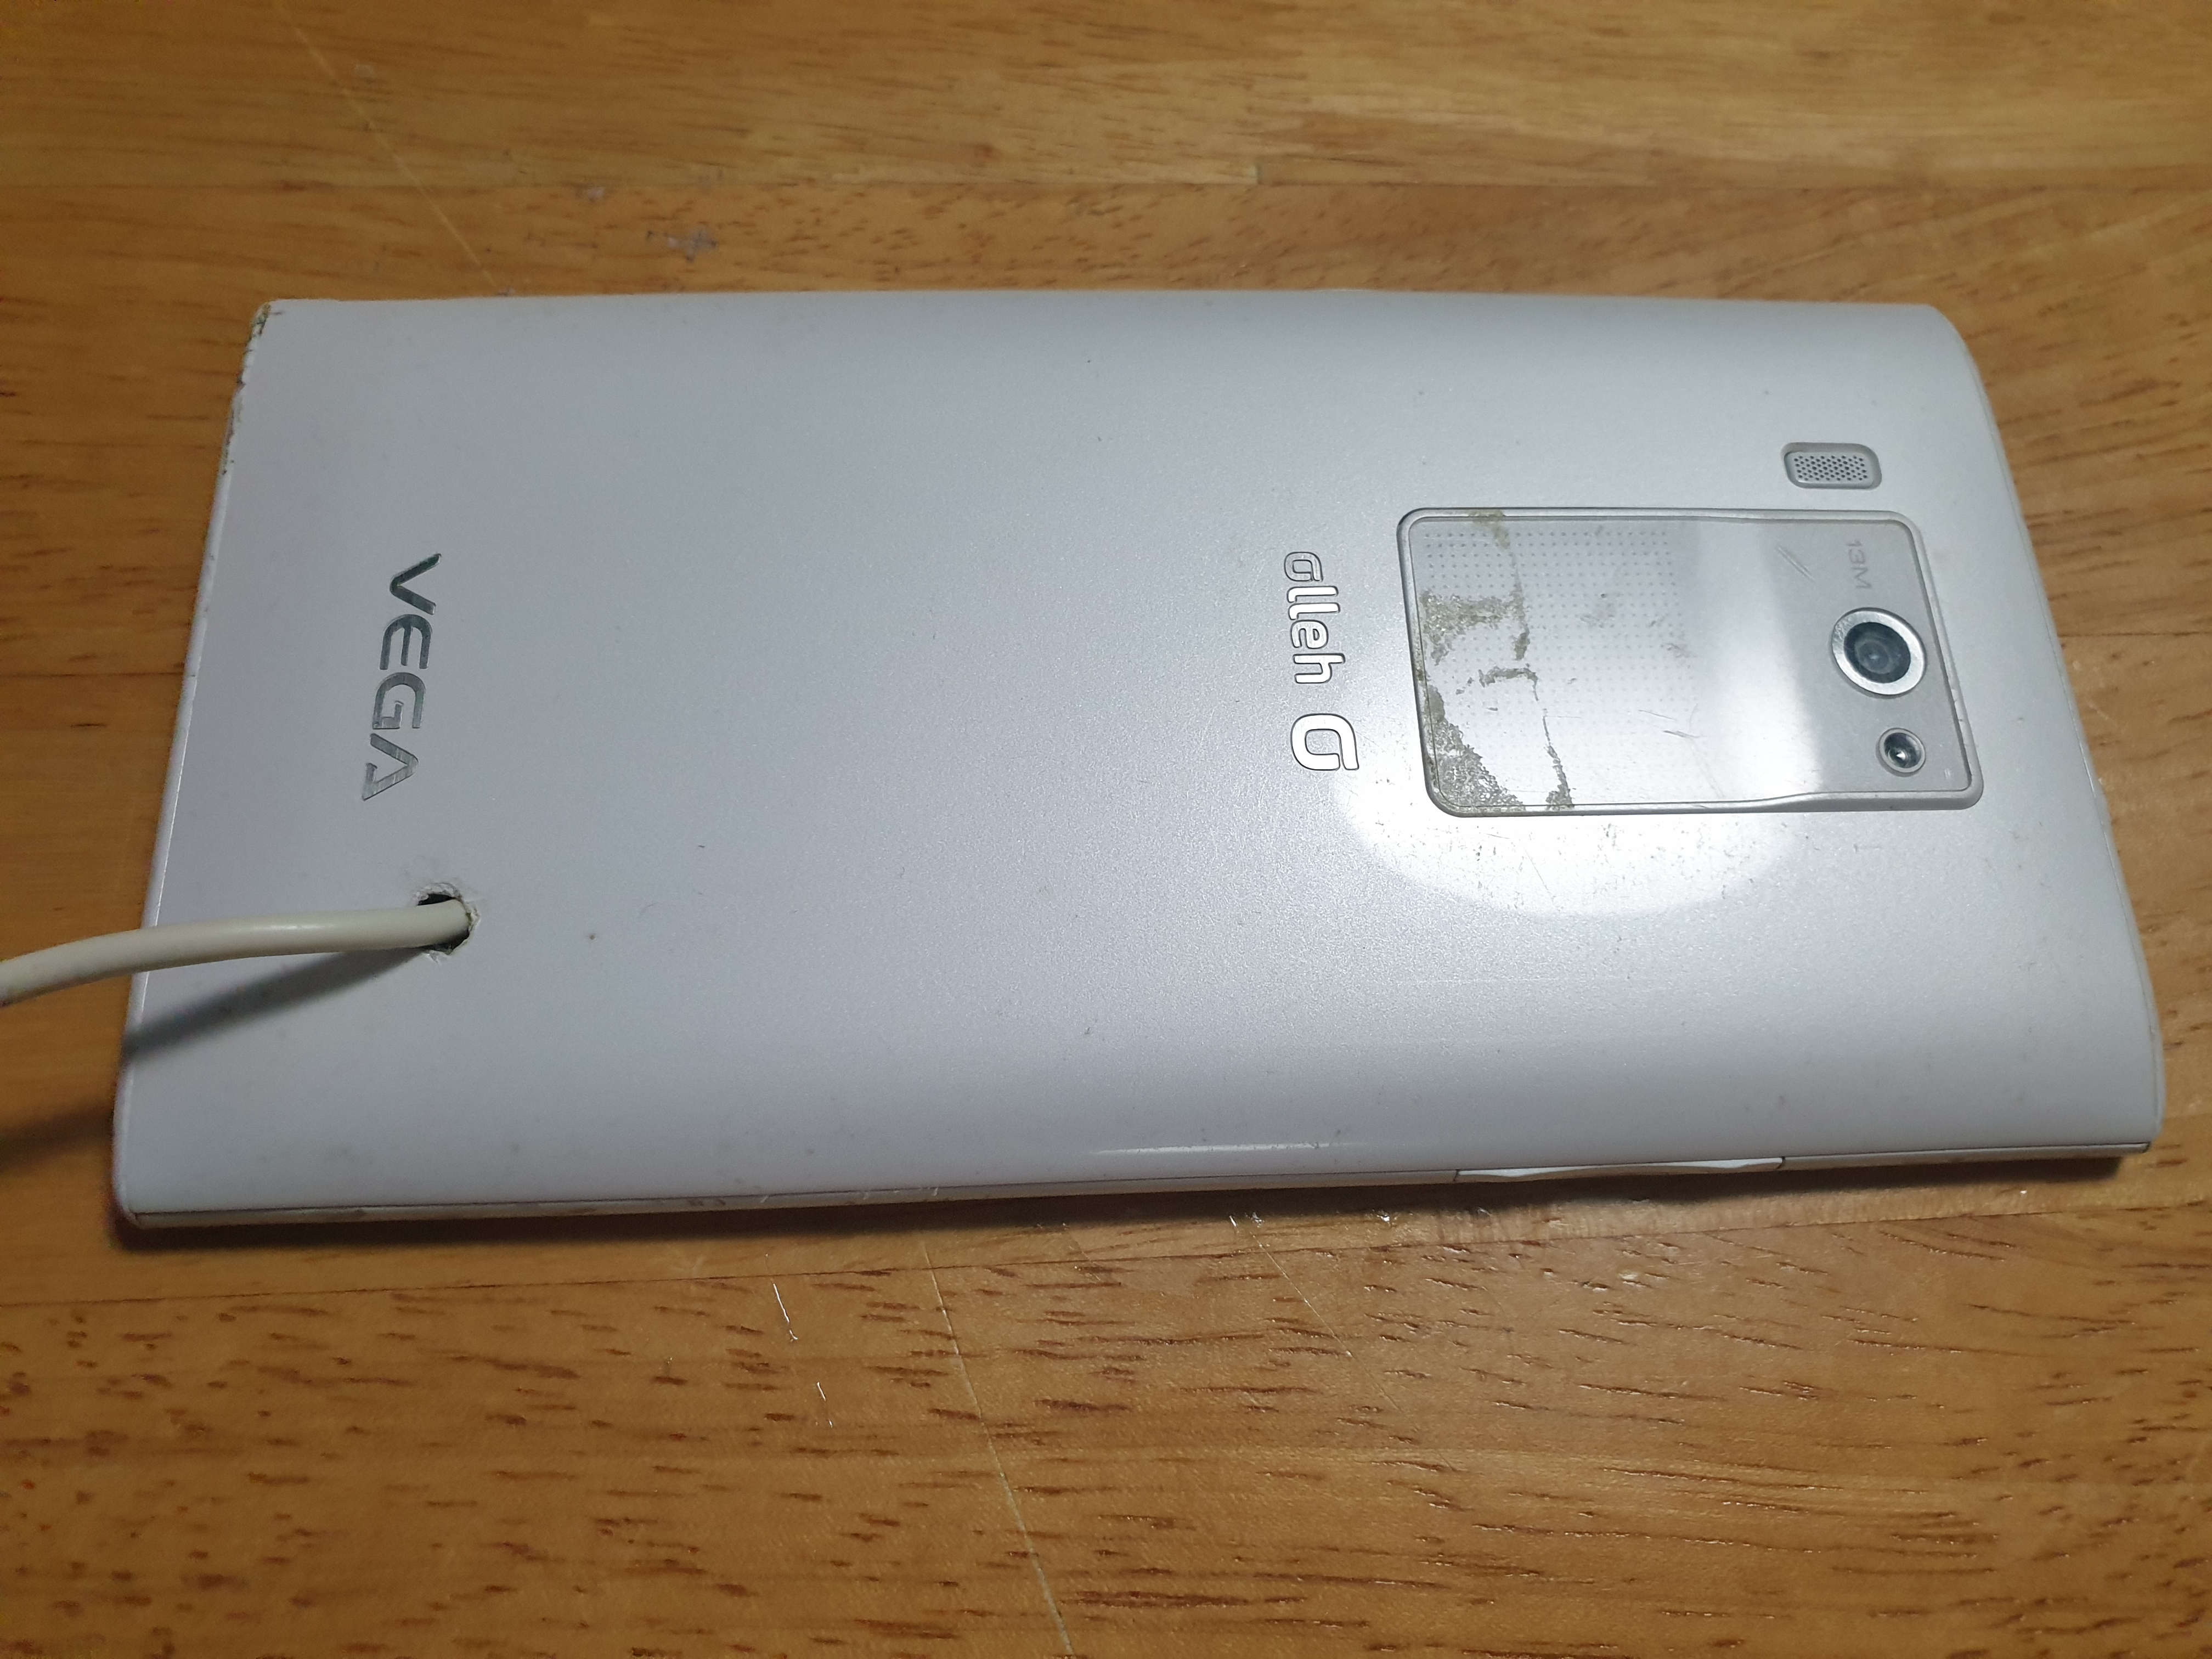
In my case, the target of this modification was Vega No’6, which has android 4.4.2, So I need to update the version up to 7 to install the HA app.(Of course, you can operate with the web, but it’s not cool.)
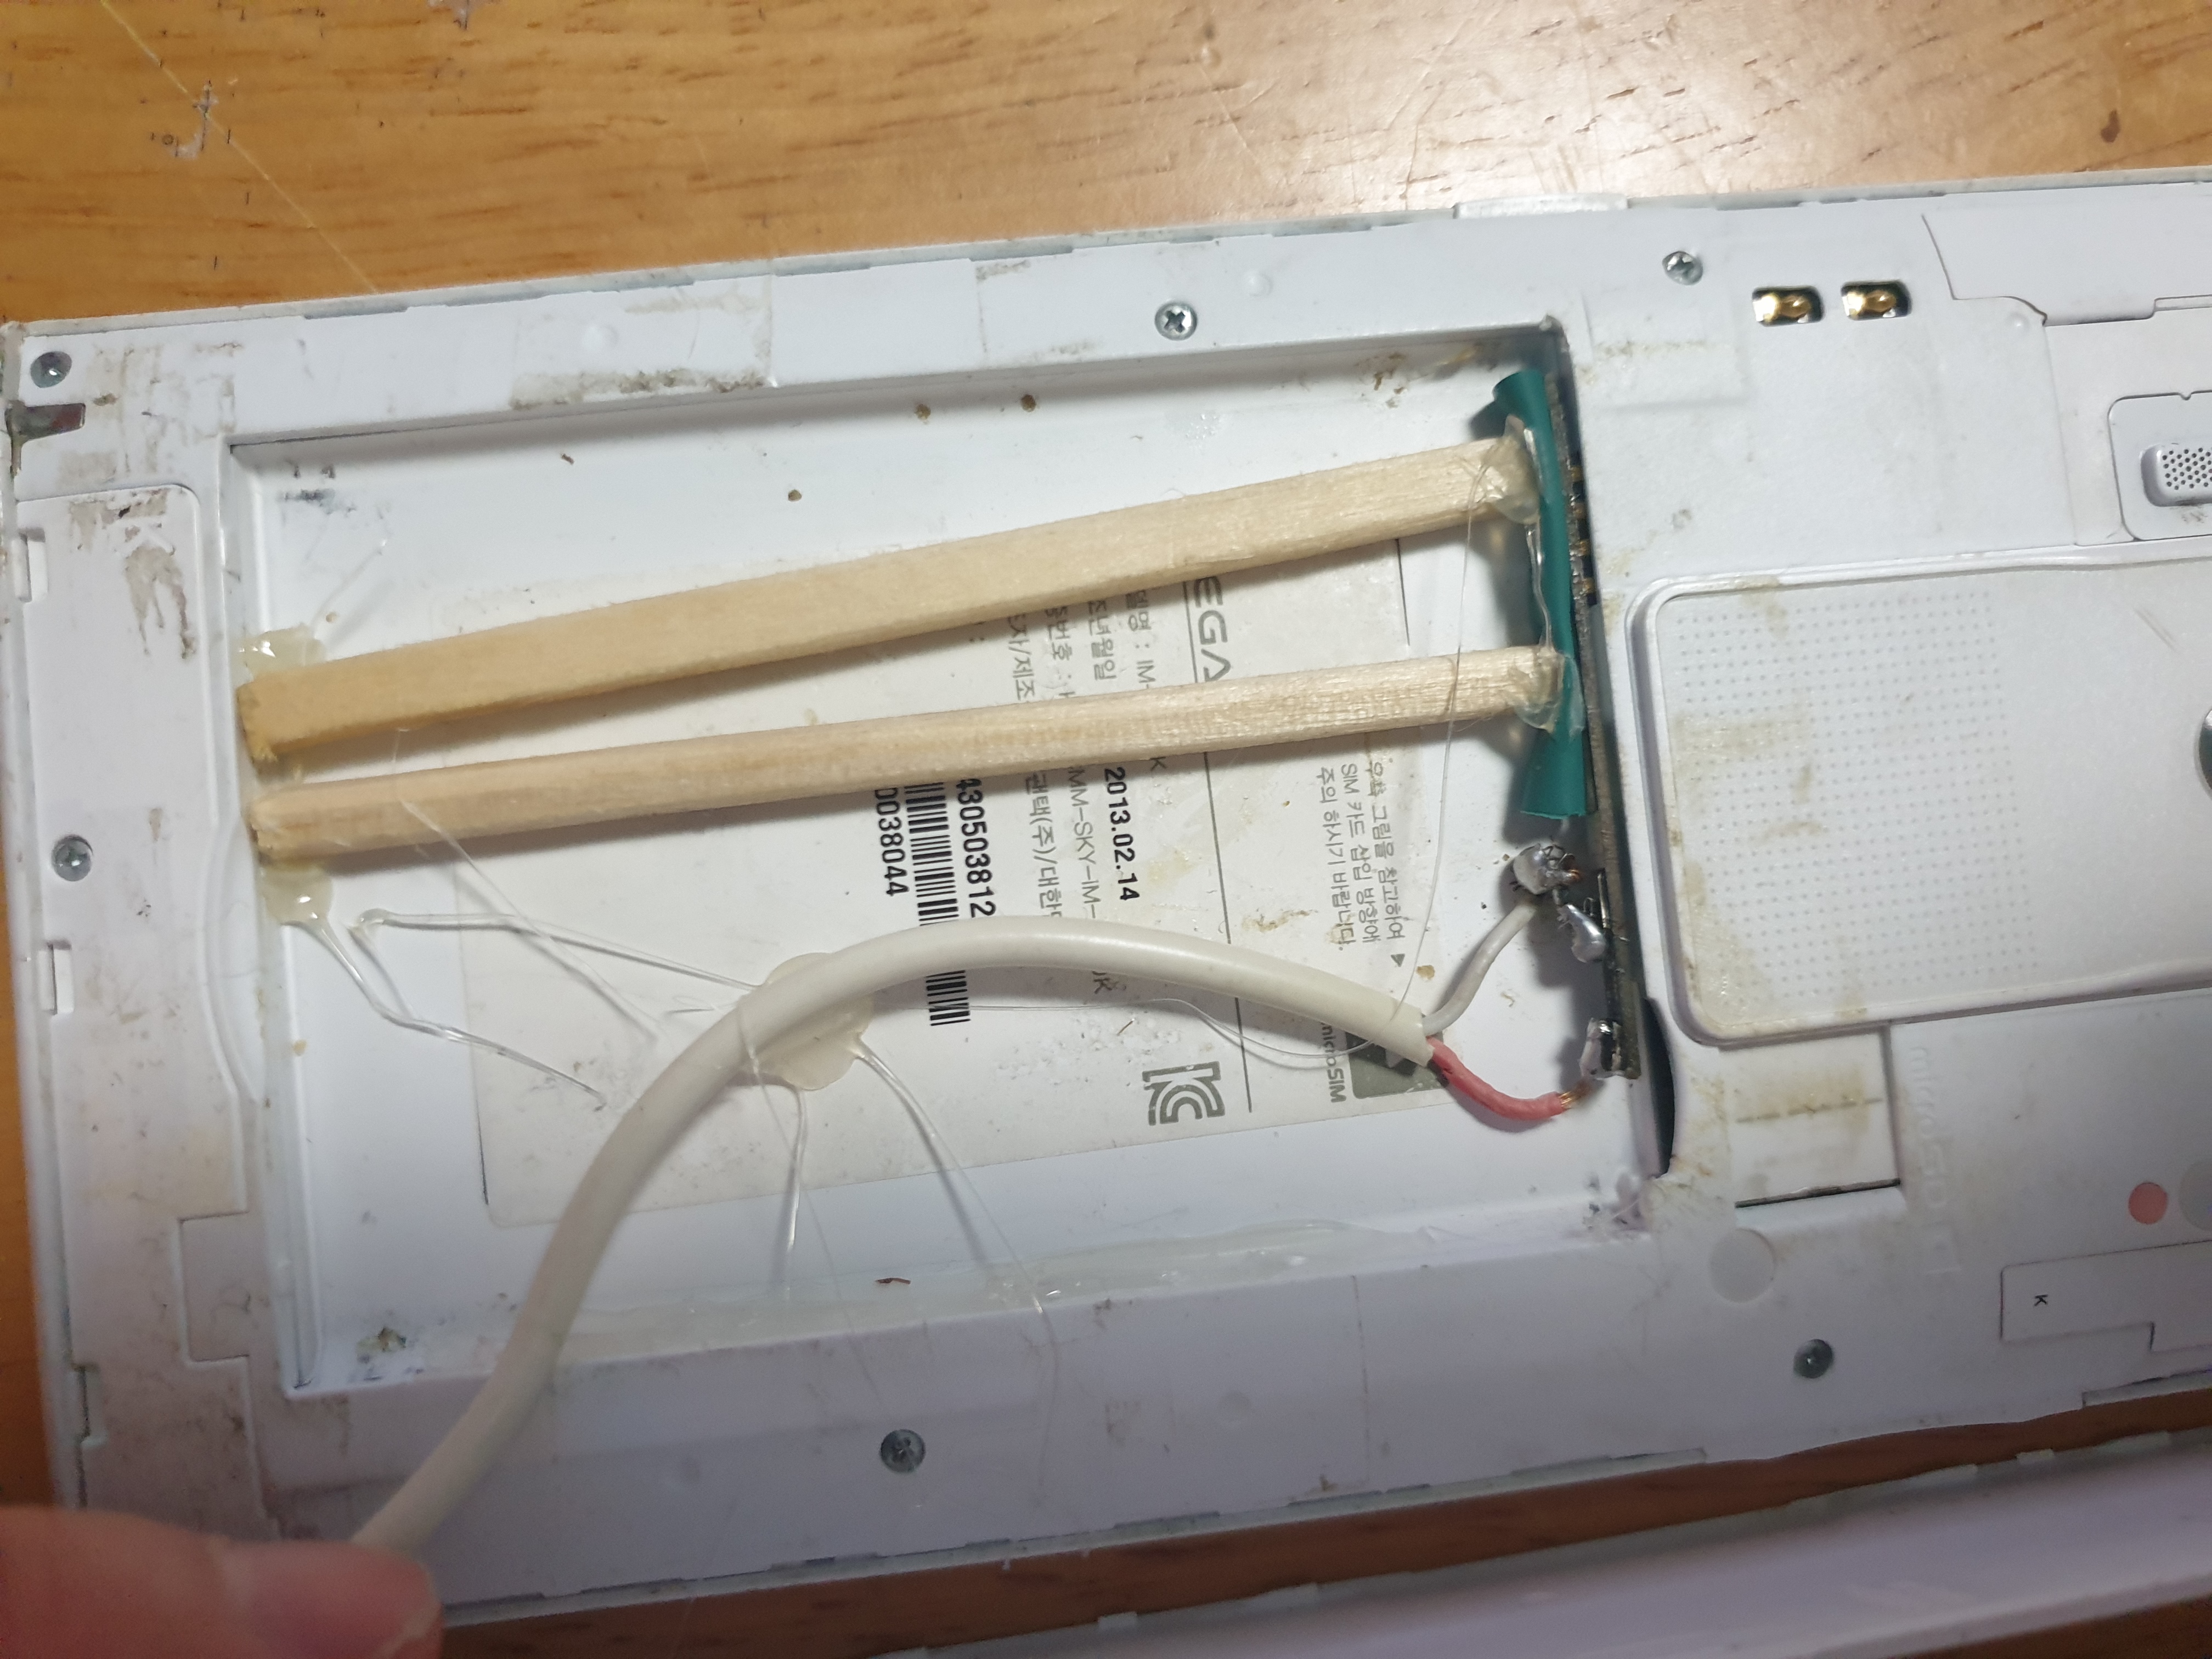
The detailed updating process will be written in another post - Permanent power input modification.(Optional)(For battery-detachable phones.)
As I wrote before, my phone was old, so I decided to remove battery to prevent swelling and other bad events.(Also possible just connect your charger always without these step.)
1. Detach the battery, remove the Cell and just take BMS
2. Cut the old charger’s broken connector and solder to bms beware with the electrical polarity
3. Fill the empty remaining space of cell to BMS got original position.
- Install HA app.
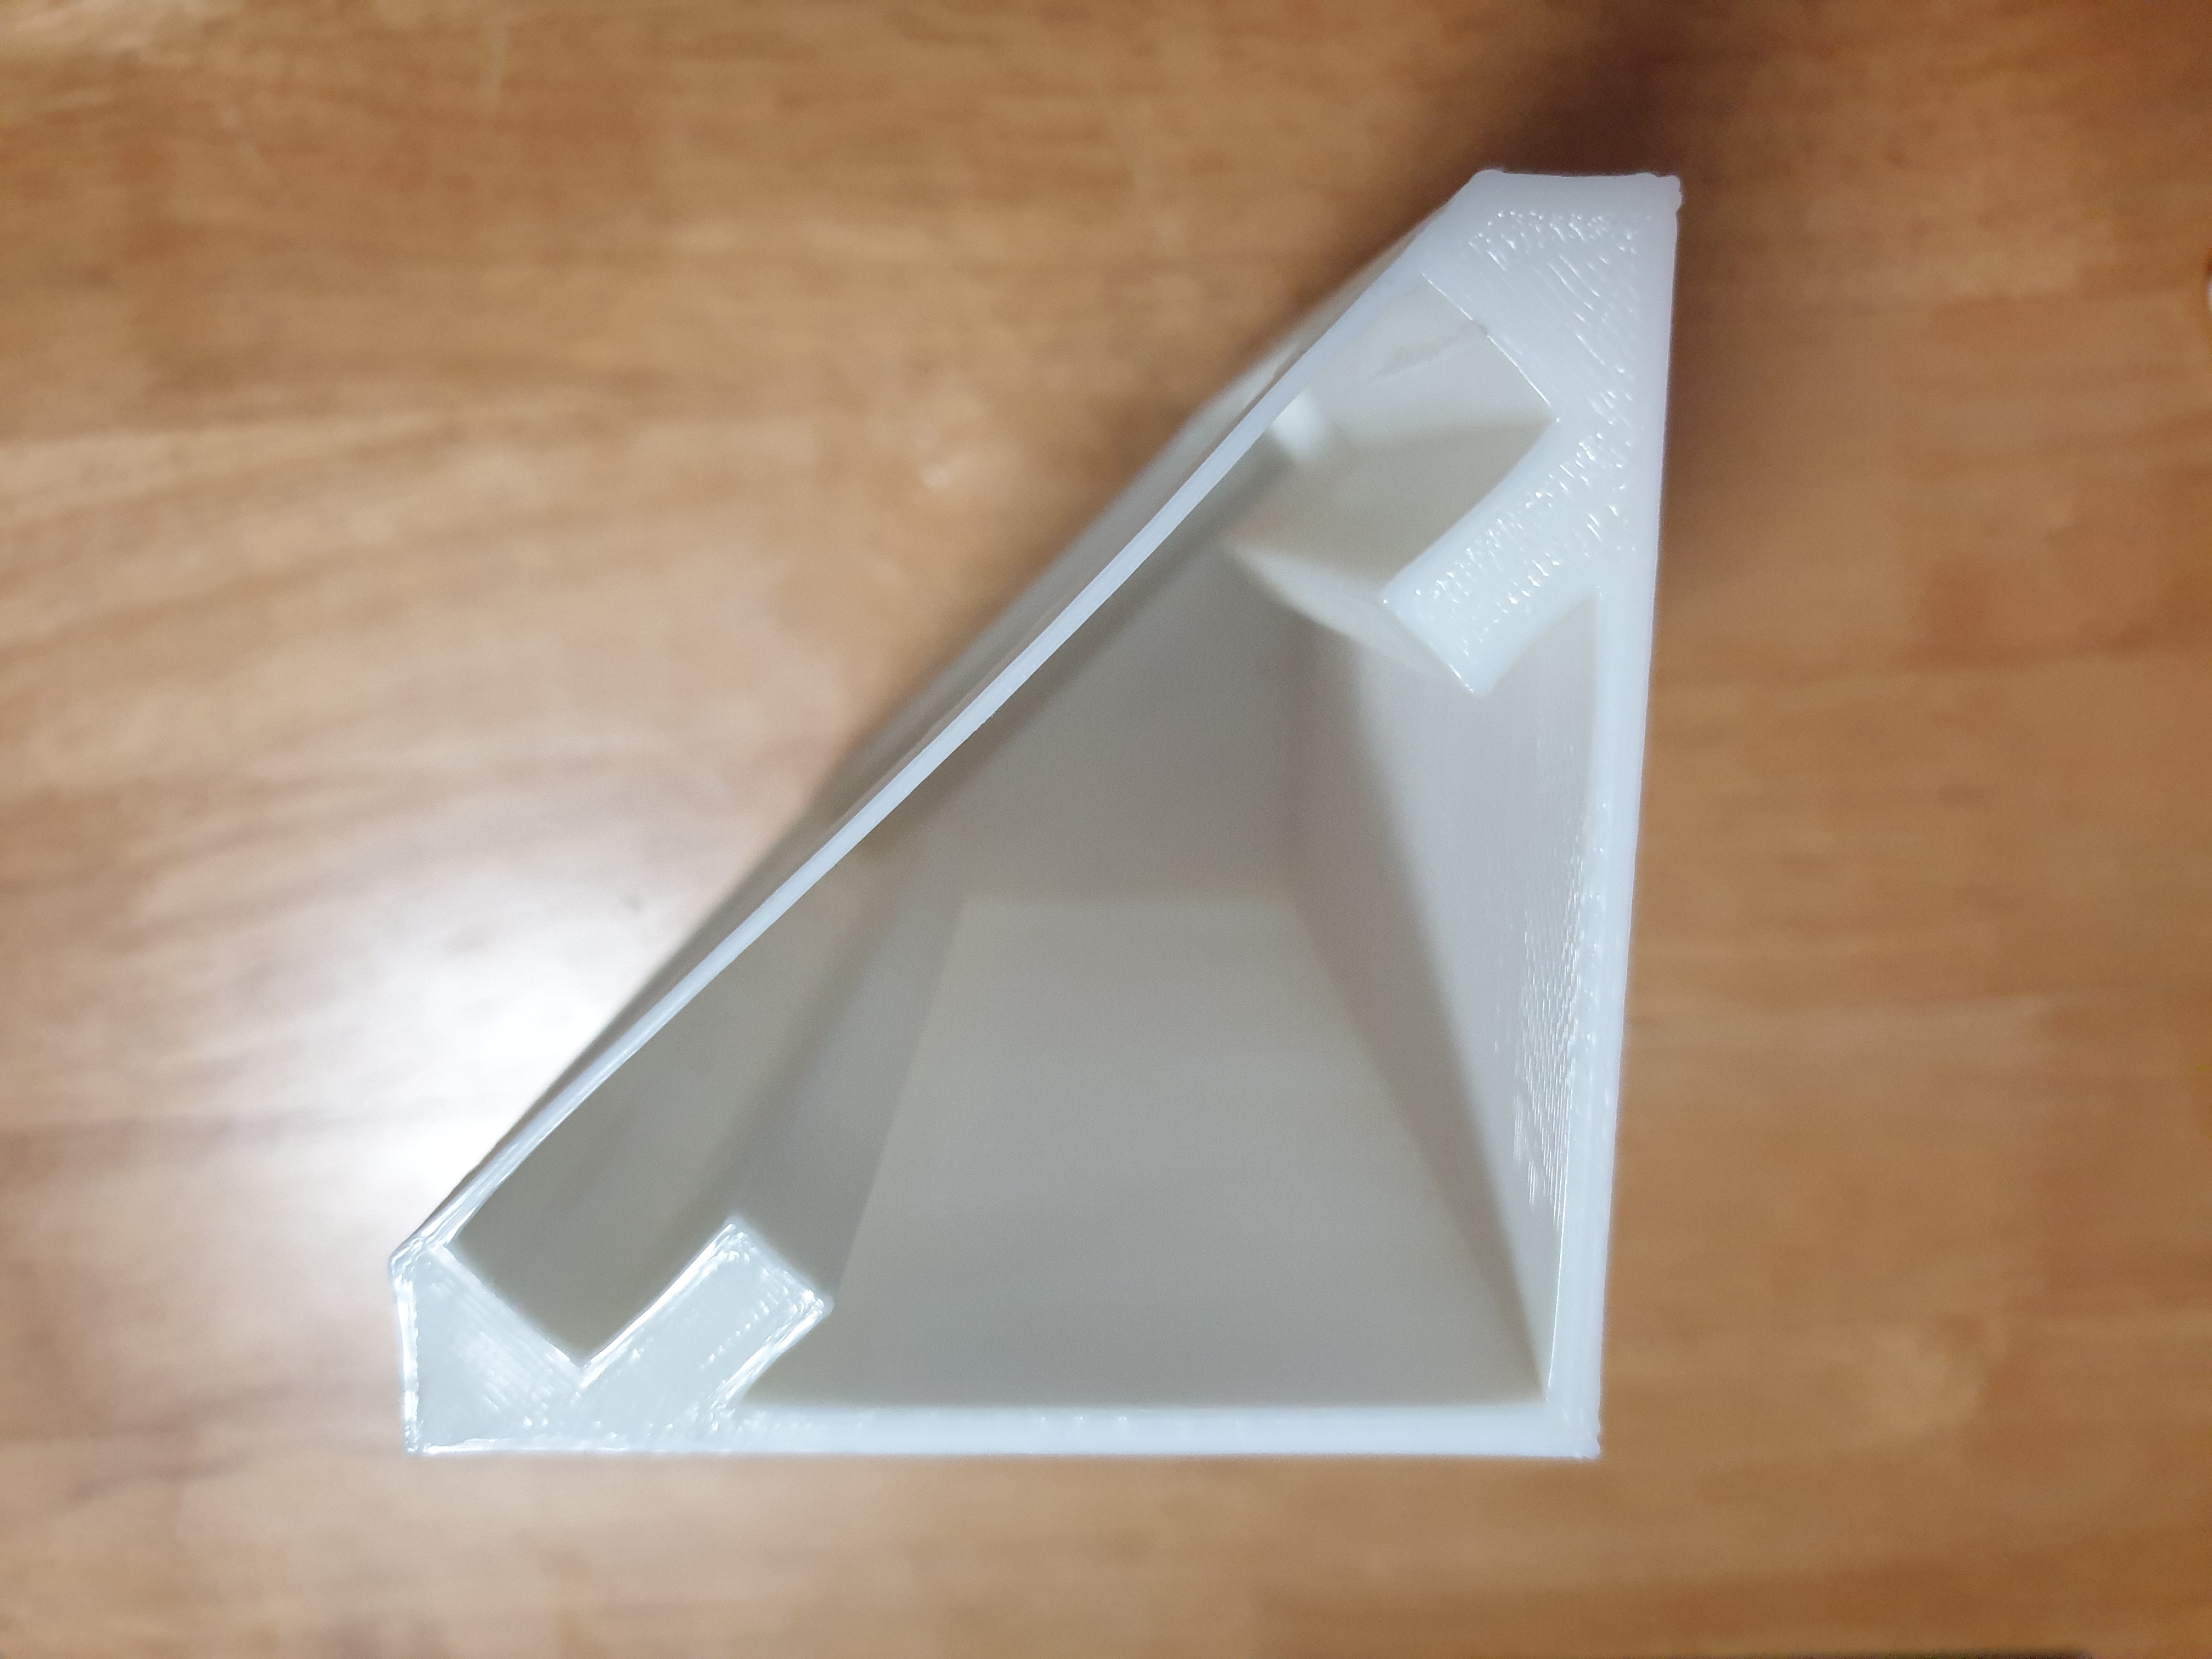
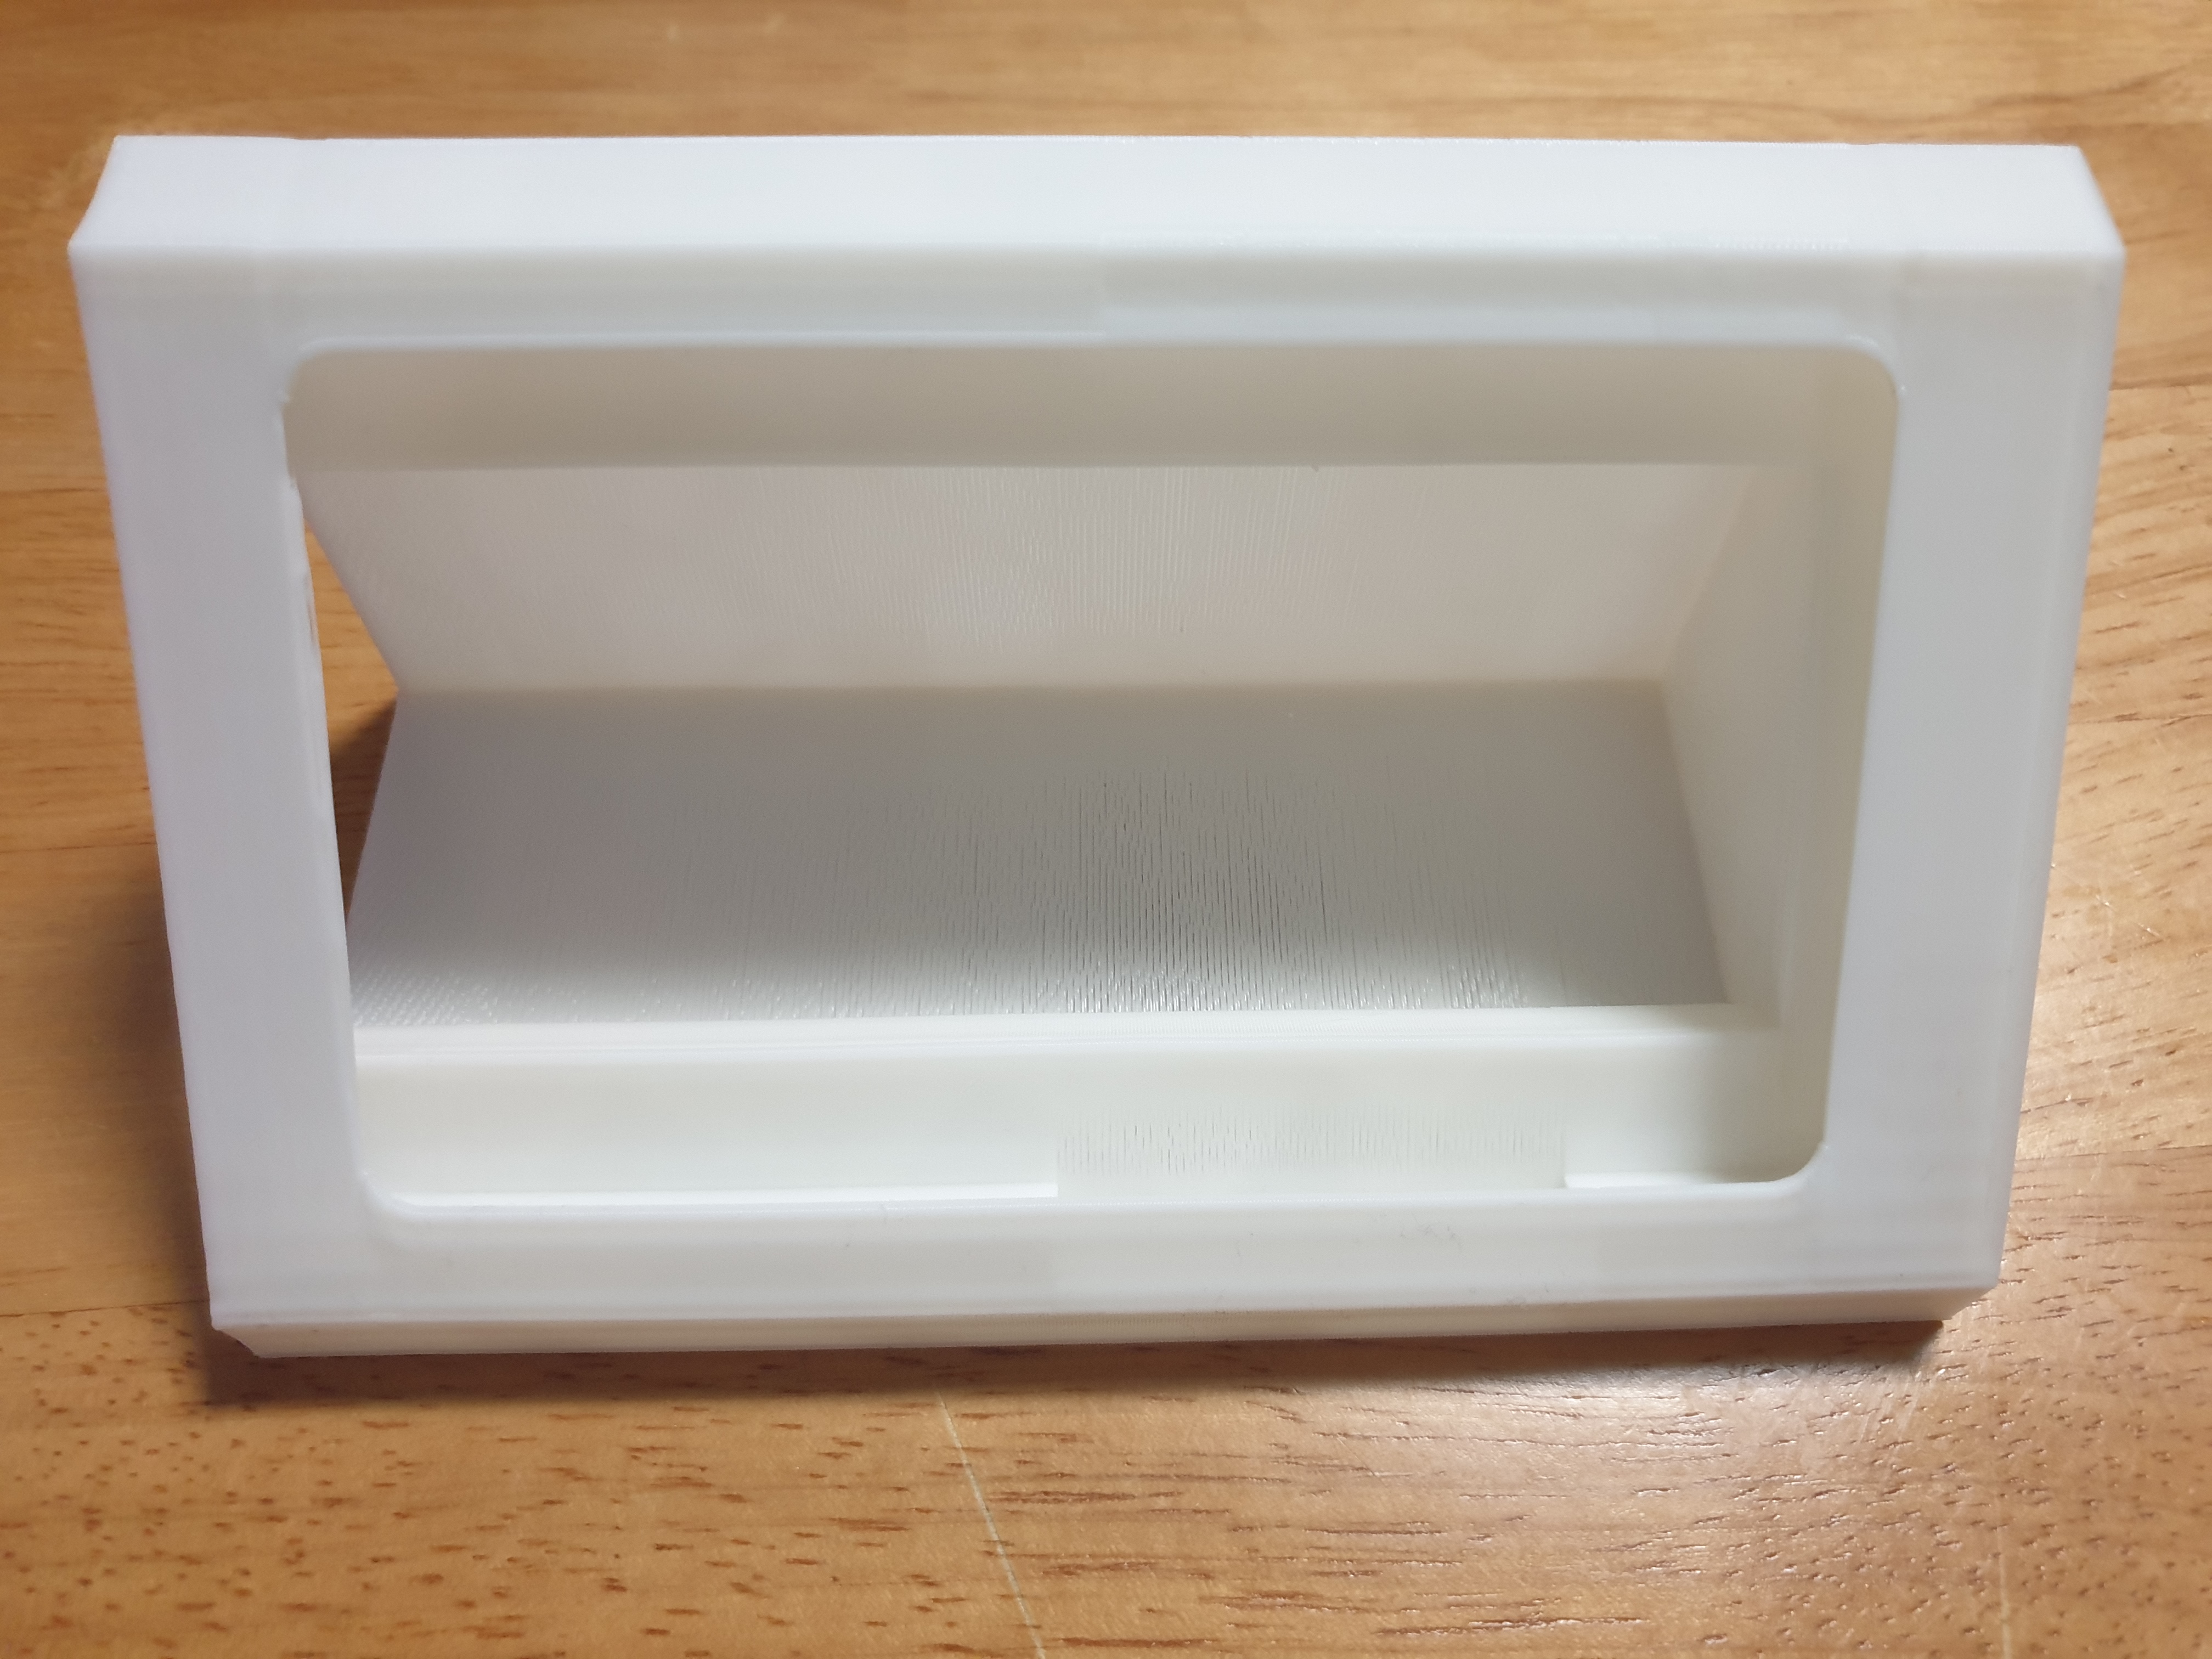
STEP2. Design your custom hub frame
- Model your phone to design the angle roughly.
- Tried to design the model similar to the other hubs, hide the frame, expose only LCD, and set the angle about 45 degrees to control easily.
☆NOTE: Take note that you need to make space for the power and volume switch not to be pressed. Otherwise, you can see the phone turns off periodically without a specific reason. And send meaningless time just suspecting the innocent charger and soldered spot. In addition, your precious printed frame will go to the garbage can.
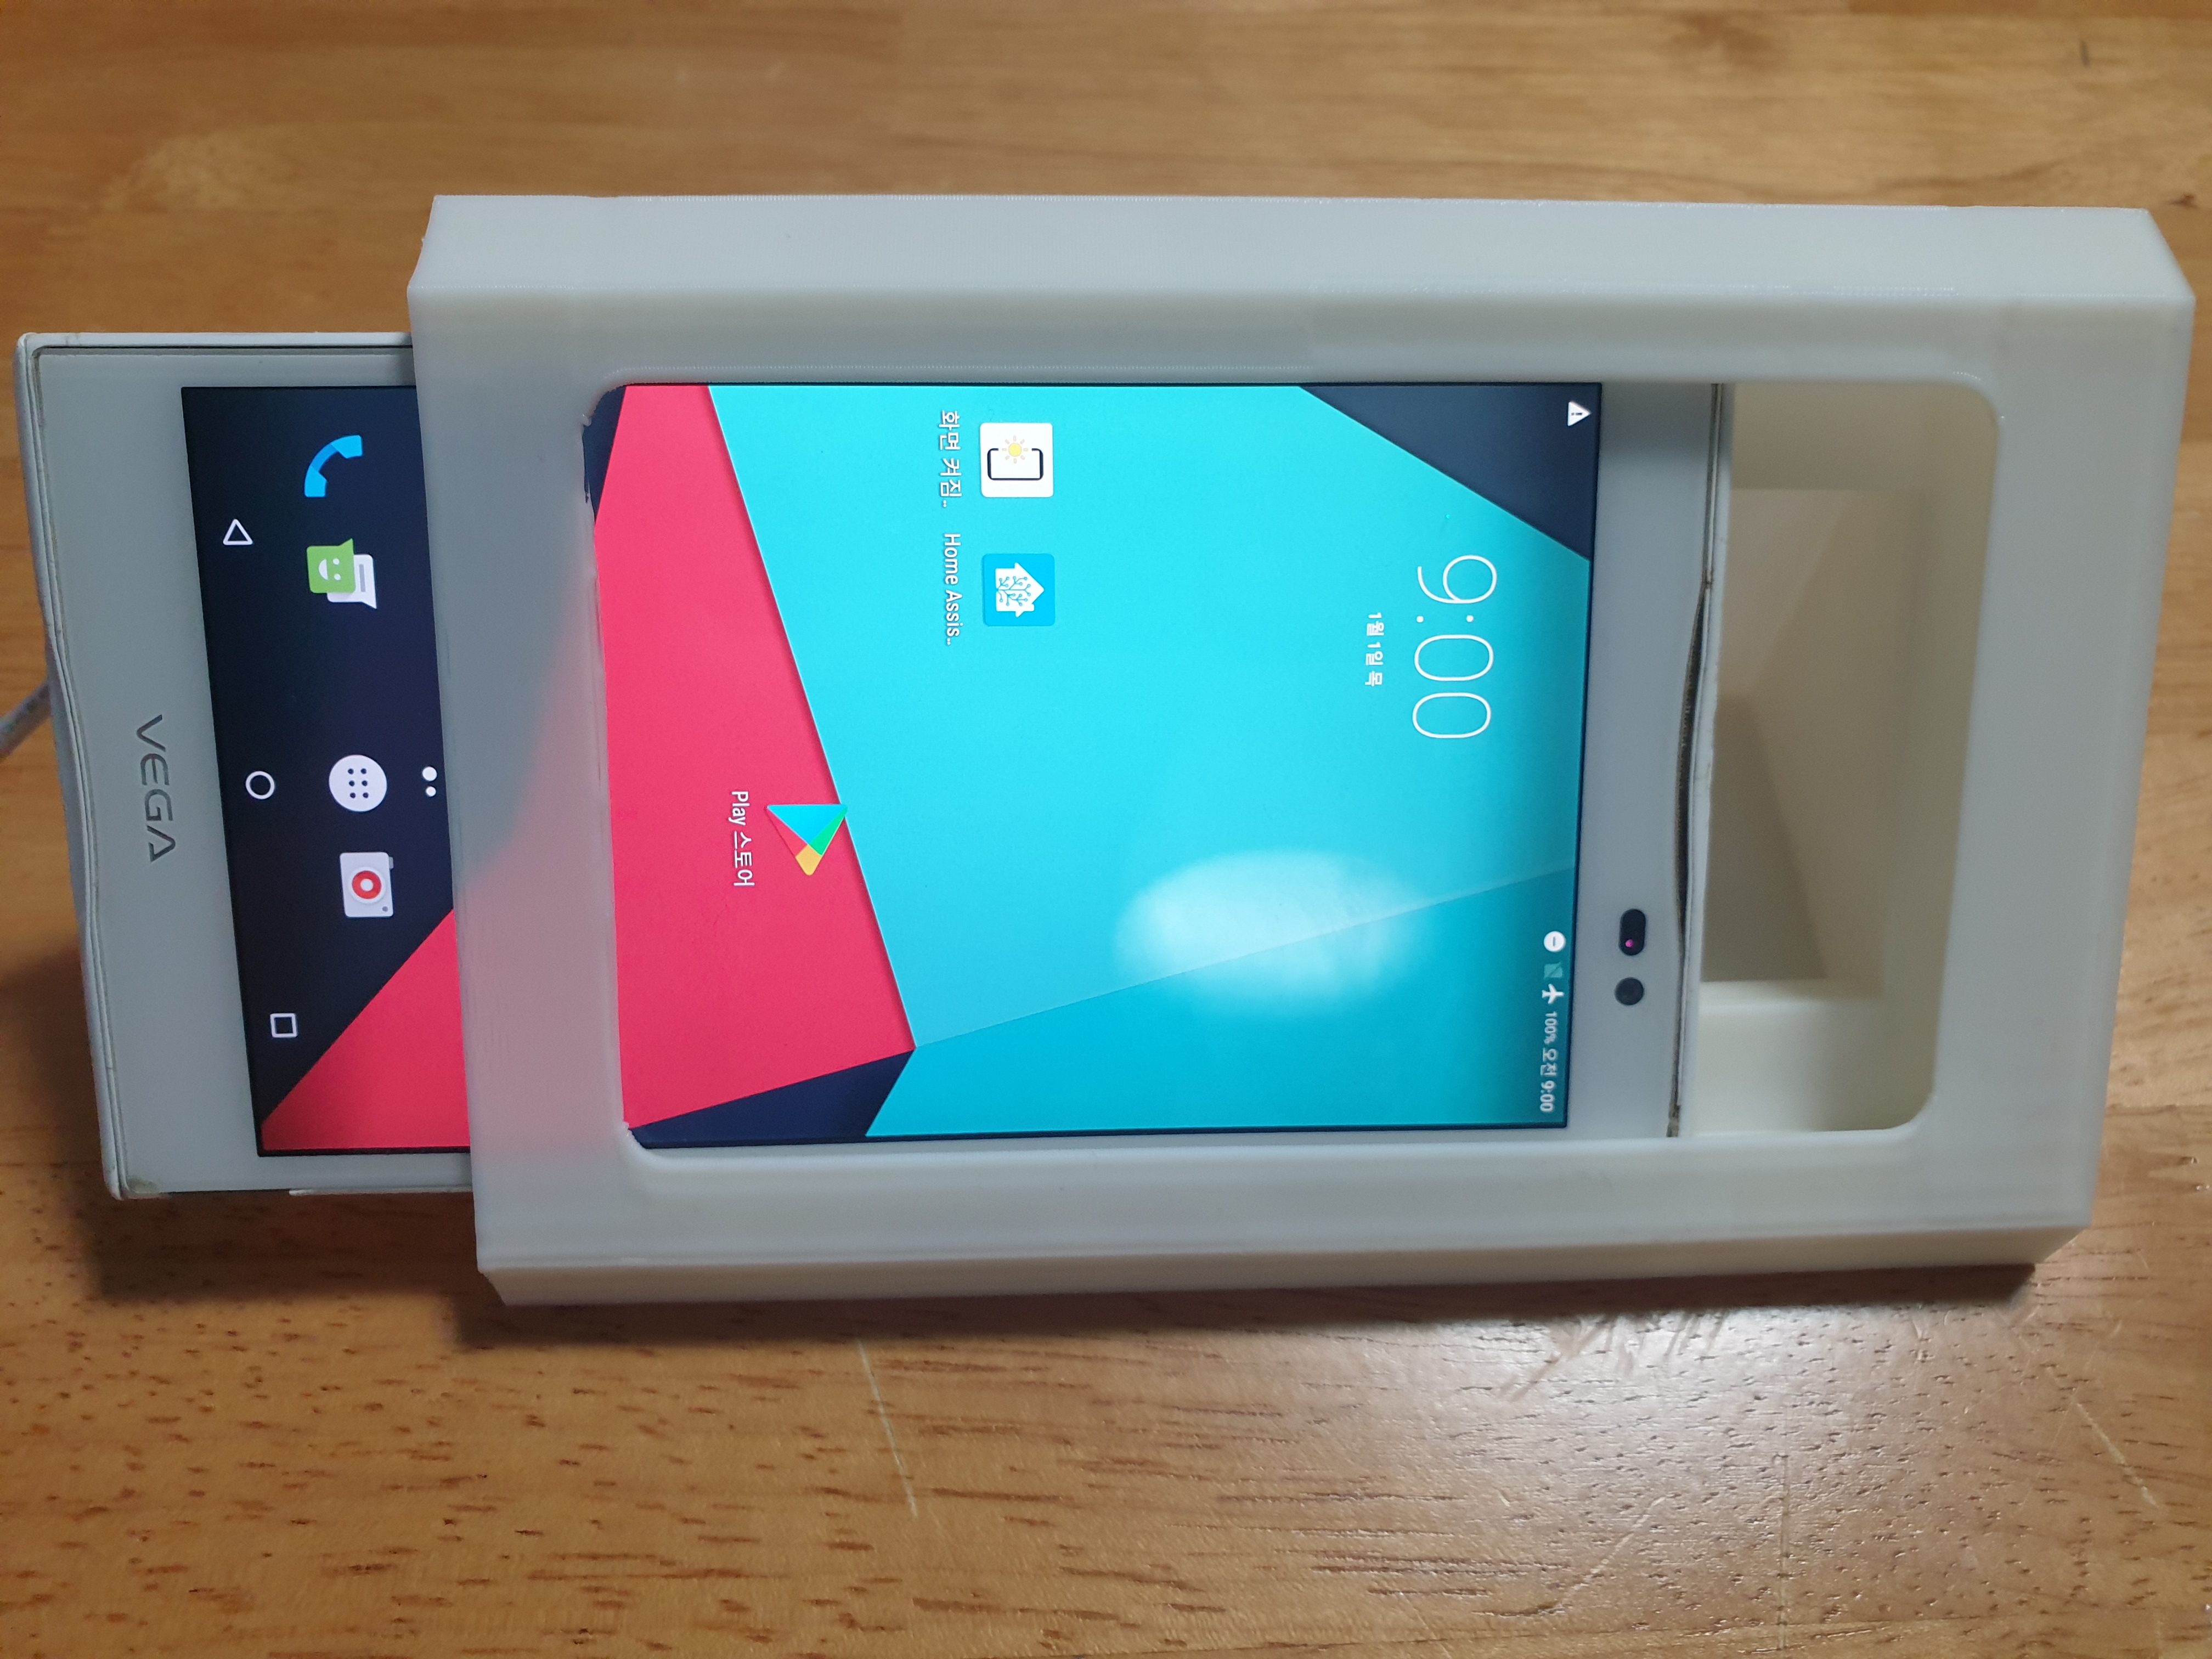
STEP3. The end
- Join the phone and frame you made, the DIY hub project is over.
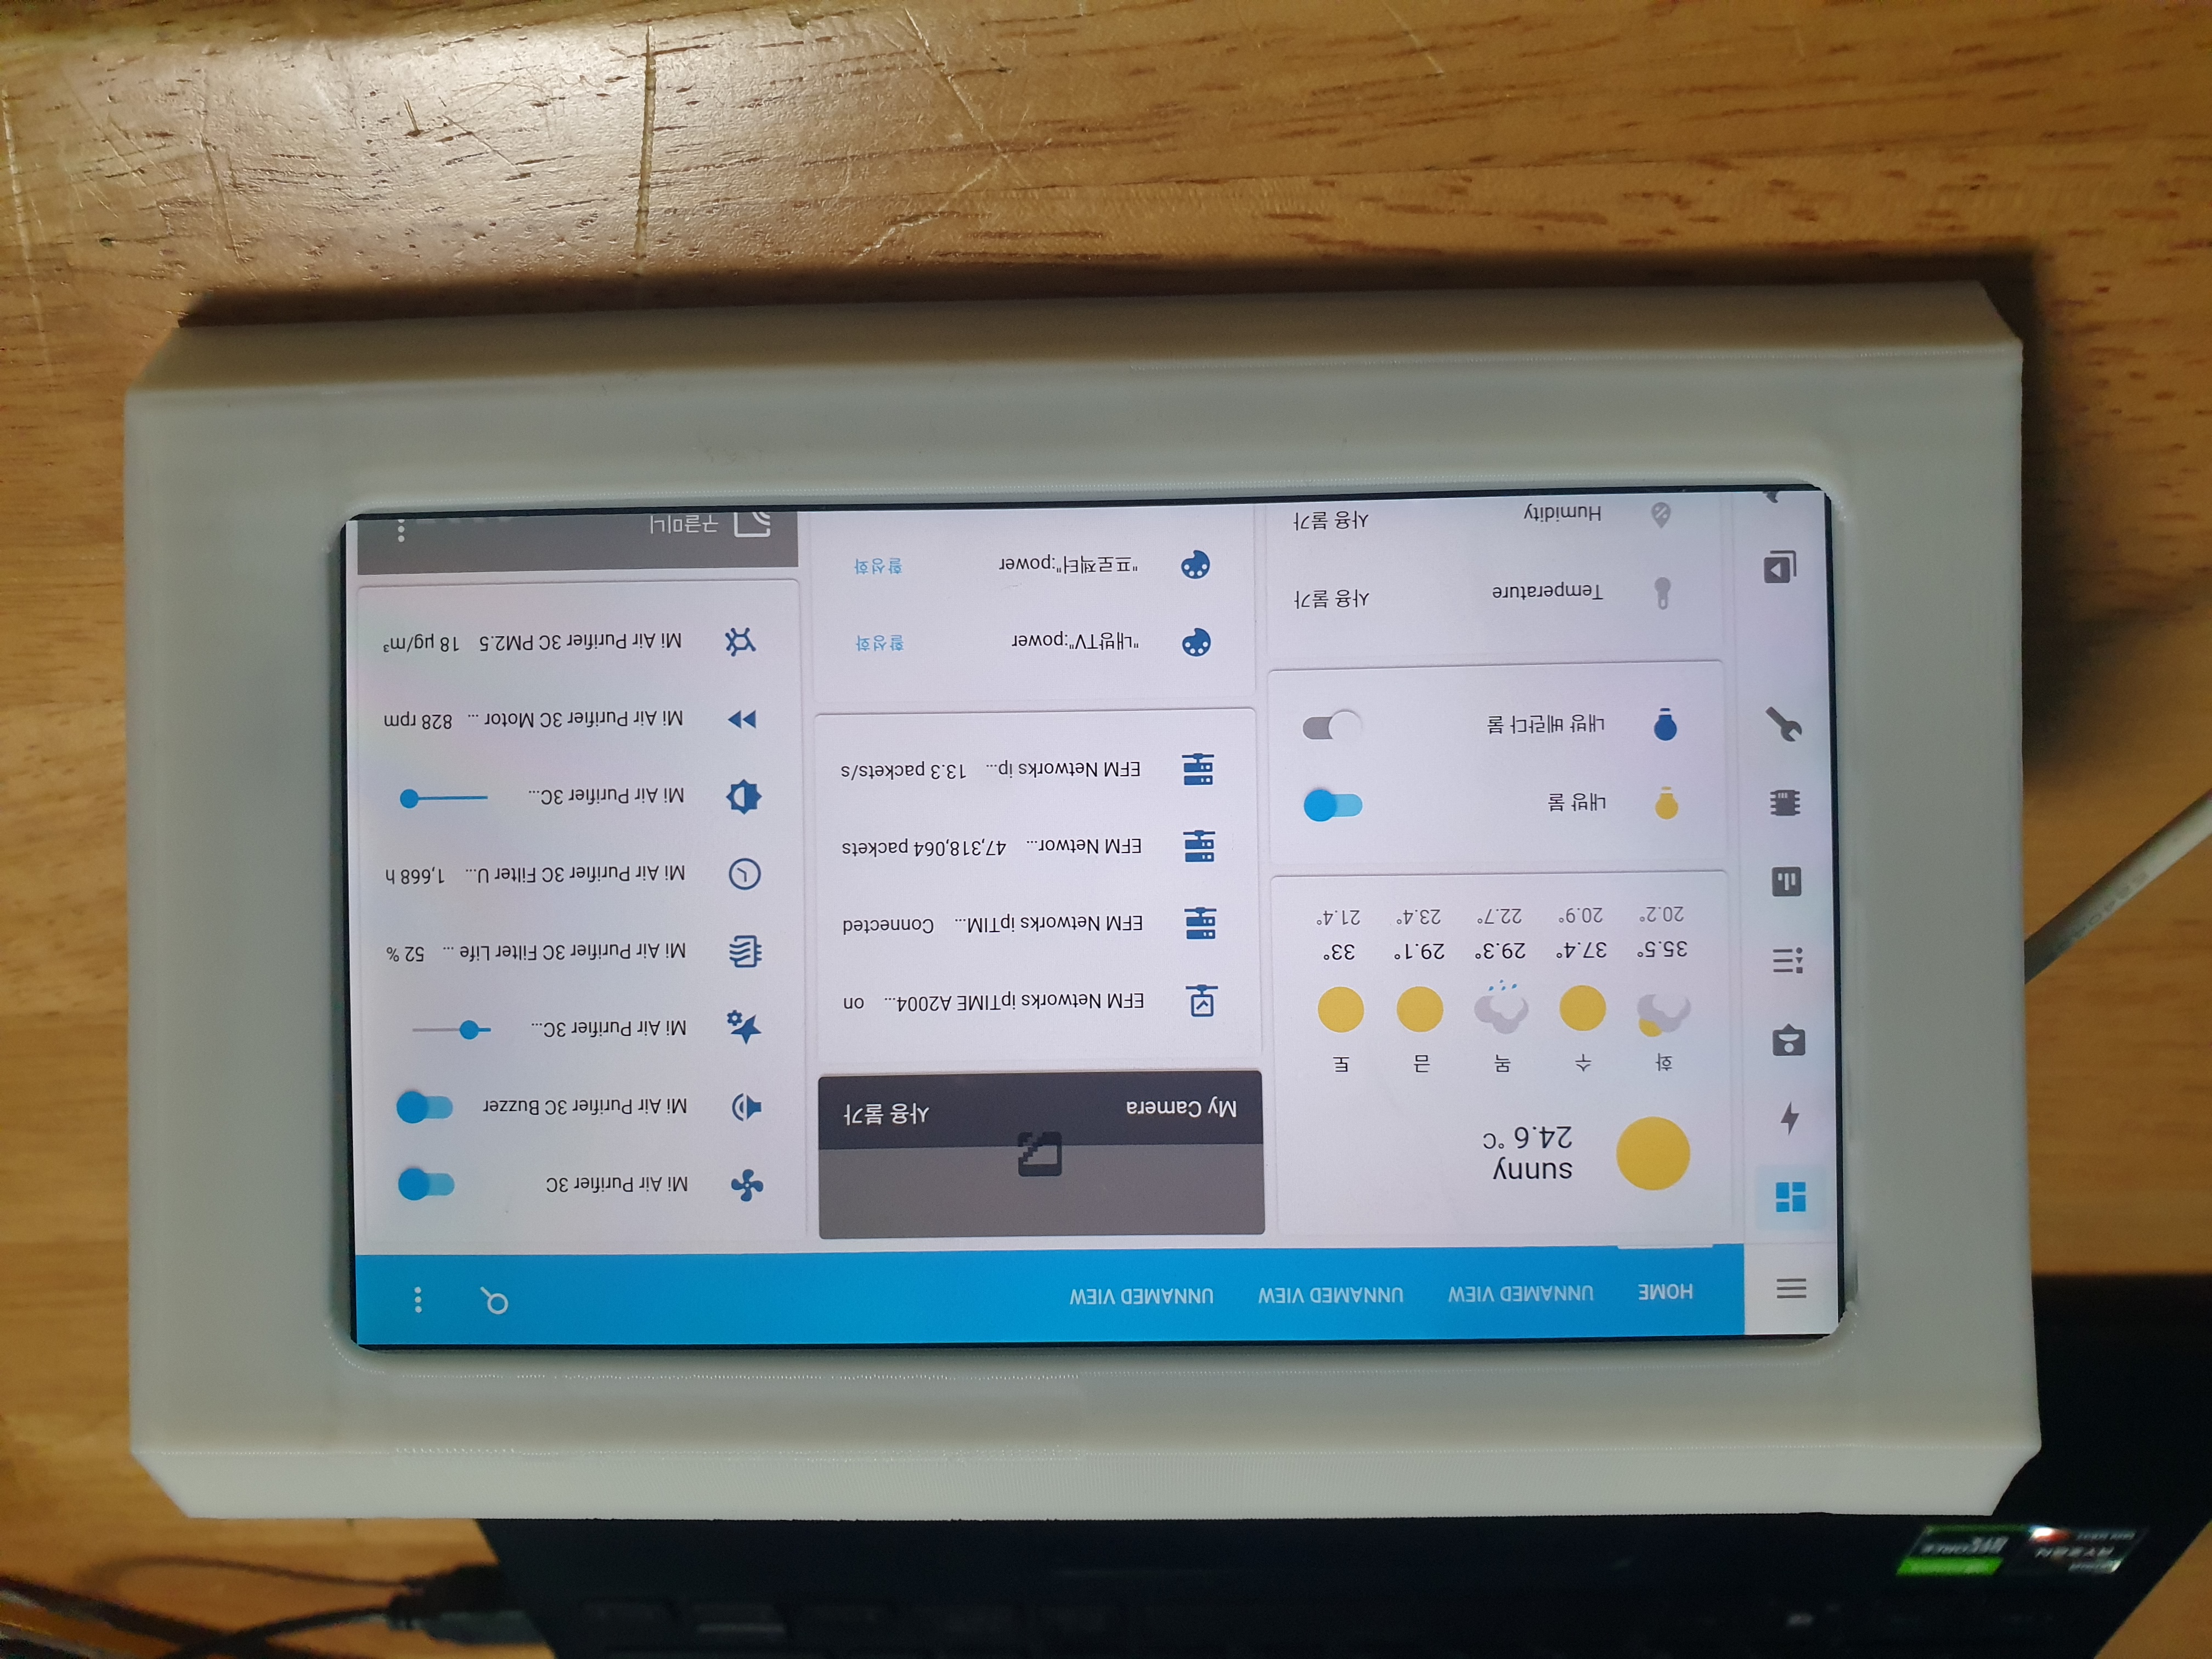
- Go to your HA server and make a new dashboard and customized layout.
- Congratulations! Now you can have your own hub with customized design.
☆Question: To achieve the same goal, why don’t we just put the phone on a wireless charging stand?
☆Answer: That’s right. But isn’t ours more cool? A little sense of accomplishment is a bonus. :D
This post is licensed under CC BY 4.0 by the author.